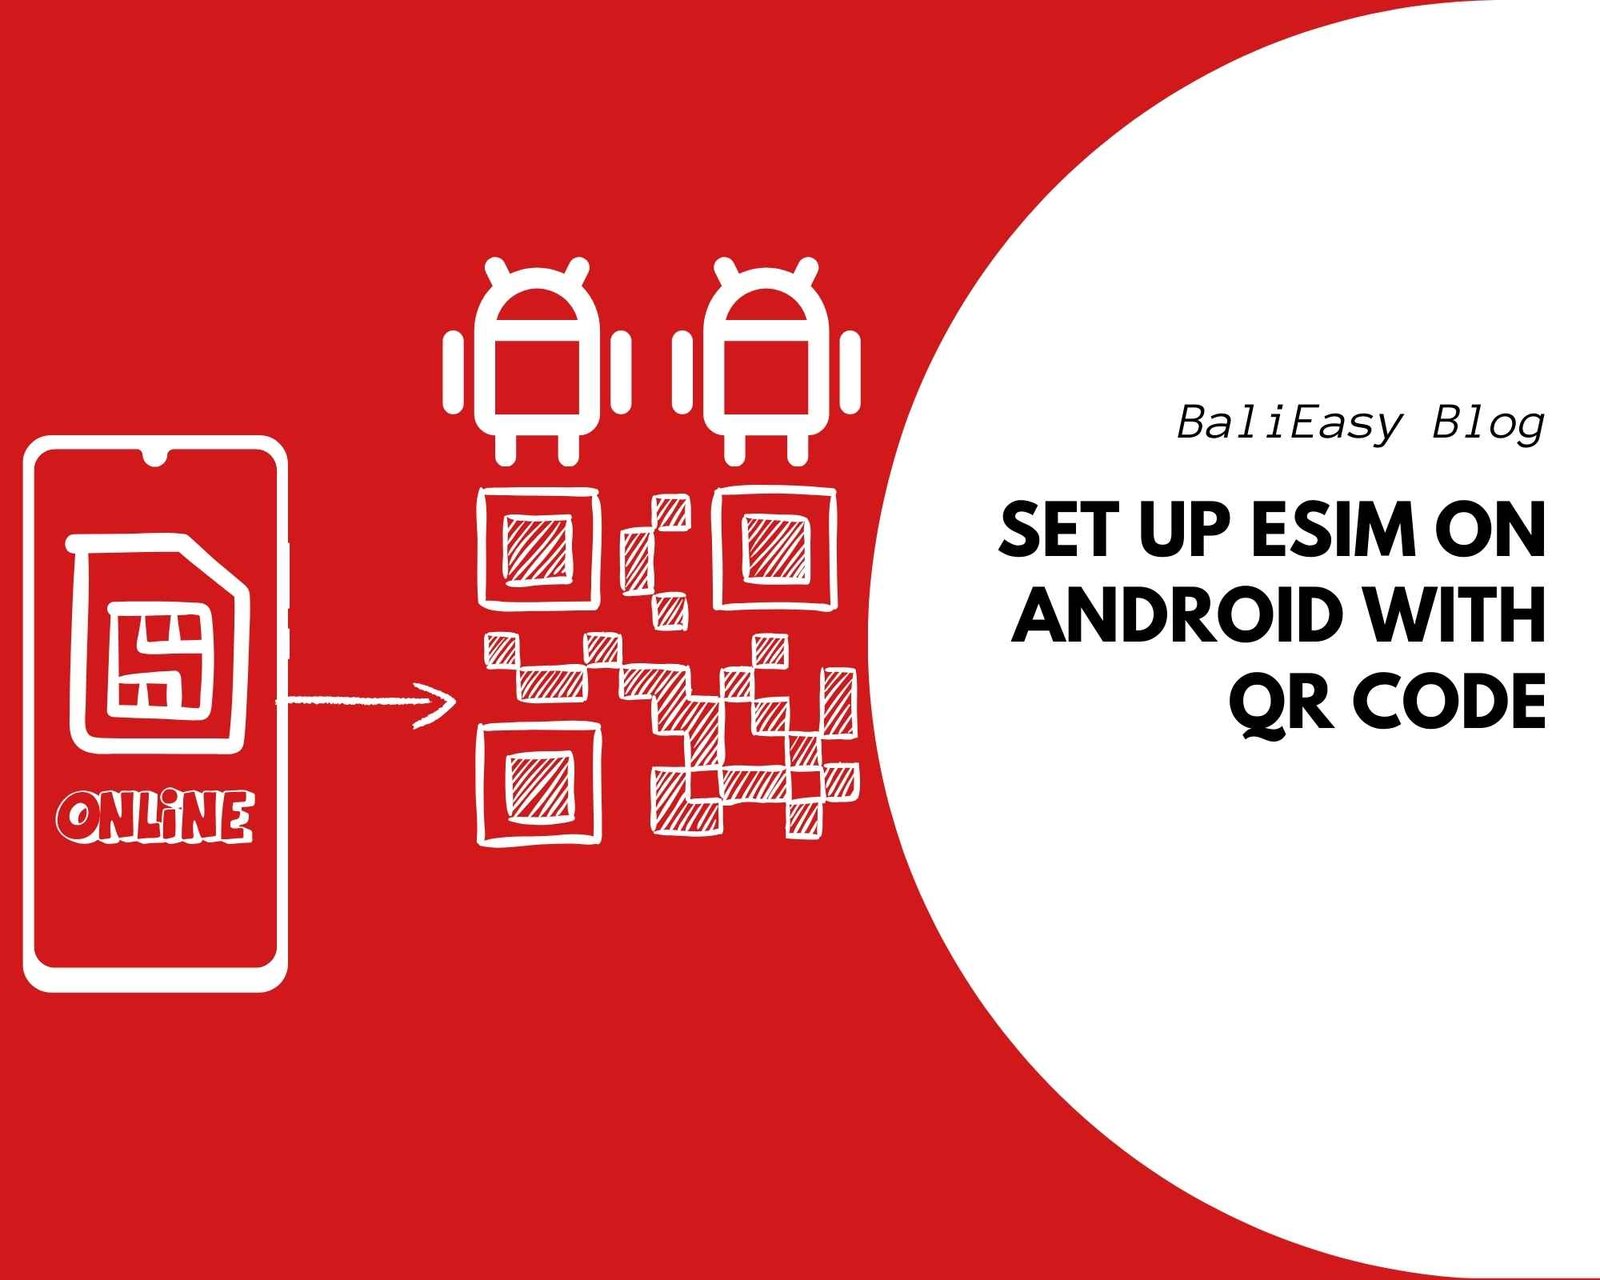
Setting up an eSIM on Android devices allows you to enjoy a mobile plan without a physical SIM card, offering flexibility and convenience. Here’s a step-by-step guide tailored to popular Android brands like Samsung, Oppo, Huawei, and Google Pixel.
1. Check if Your Android Device Supports eSIM
Before setting up an eSIM, confirm your device’s compatibility. Here’s how to check:
- Samsung: Models like the Galaxy S21, S22, Z Flip, and Fold series support eSIM.
- Oppo: Check newer models like the Oppo Find X series for eSIM compatibility.
- Huawei: Some Mate and P series models support eSIM.
- Google Pixel: All Pixel phones from Pixel 3 and later (except some regional versions) support eSIM.
For a full list of supported devices, visit our eSIM compatible phone list page.
2. Obtain an eSIM Activation Code
Contact your mobile carrier or eSIM provider to request an eSIM activation. They will provide you with a QR code or activation details necessary for the setup. For travelers, services like BaliEasy offer convenient eSIM packages.
3. Set Up eSIM on Your Device
Follow the steps specific to your device brand:
Samsung Devices
1. Open Settings > Connections > SIM Card Manager.
2. Tap Add Mobile Plan.
3. Choose Add using QR code.
4. Scan the QR code provided by your eSIM provider.
5. Follow the on-screen instructions to complete the setup.
Oppo Devices
1. Go to Settings > Dual SIM & Cellular Network.
2. Tap Add eSIM.
3. Scan the QR code or enter the activation details manually.
4. Complete the setup by following the prompts.
Huawei Devices
1. Open Settings > Mobile Network > SIM Management.
2. Select Add eSIM.
3. Scan the QR code or input the activation information manually.
4. Confirm and activate the eSIM.
Google Pixel Devices:
1. Navigate to Settings > Network & Internet > SIMs.
2. Tap Add eSIM.
3. Scan the QR code or enter the activation details manually.
4. Follow the prompts to complete the setup.
4. Label Your eSIM for Easy Identification
After activation, label your eSIM to distinguish it from other plans:
1. Go to Settings > SIM Card Manager (or equivalent).
2. Select the eSIM you added.
3. Choose a label like “Primary,” “Secondary,” or create a custom label.
5. Set Your Preferred SIM for Calls, Messages, and Data
If your device supports dual SIMs, set your preferences:
In Settings > SIM Card Manager (or equivalent), choose the default SIM for:
- Calls
- Text Messages
- Mobile Data
Setting up an eSIM on Android devices like Samsung, Oppo, Huawei, or Google Pixel is straightforward. Ensure your device supports eSIM, get an activation code from your carrier, and follow the brand-specific steps. With an eSIM, you can enjoy seamless connectivity without the hassle of a physical SIM card.